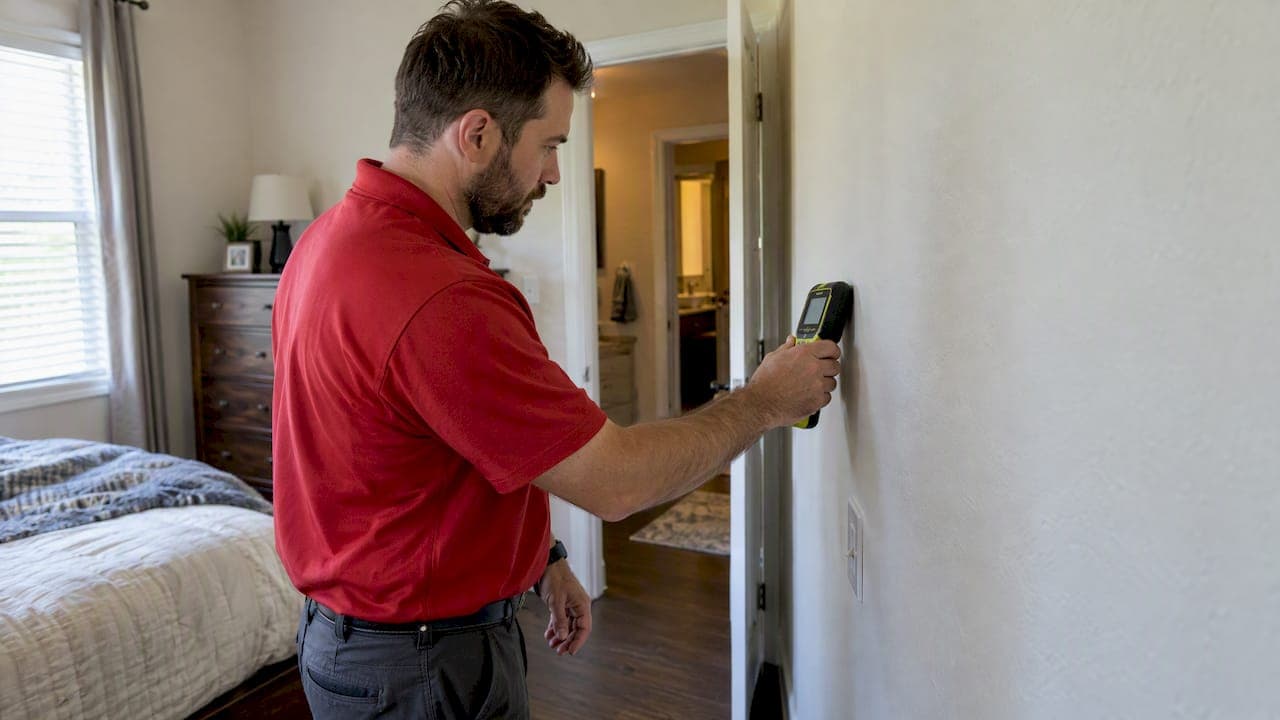
Wall Cavity Drying for Homeowners: Map Moisture Before Choosing

Start targeted wall cavity drying within 24–48 hours of the loss, the window the EPA cites for drying wet materials. The practical options are drill-and-inject, pressurized injection systems, or focused airmovers with ducting. Call a licensed restoration pro for contaminated water, swollen drywall, broken seams, or saturated insulation.
TL;DR:
- Remove materials that stayed wet beyond 48 hours, contaminated materials, or saturated insulation; drywall may remain only if it is unswollen and its seams remain intact.
- Size dehumidifiers for the room’s air volume, seal adapter connections, and pair directed cavity airflow with extraction rather than relying on surface fans alone.
- Record moisture readings daily at exposed edges or inspection holes, update the drying boundary, and check airflow and dehumidifier capacity if readings stall.
- Use negative pressure or exhaust with inline HEPA filtration, seal the work area, and keep exhaust paths short to limit contaminants entering occupied rooms.
- Before removing wall materials during an insurance claim, document conditions and confirm payment responsibility, the cash price, and what happens if coverage is denied.
Table of Contents
- Which wall cavity drying methods work, and when?
- What equipment do you need to dry wall cavities?
- How do you dry a wall cavity step by step?
- How do you monitor and document drying progress?
- When should you remove drywall or insulation instead of drying in place?
- How do you contain and filter air when drying cavities?
- What I tell homeowners about sequence and risk
- Ready 2 Inspect services for water damage and full restoration
- FAQ
- Sources
Which wall cavity drying methods work, and when?
Pick the method based on how wet the wall is and how much of the finish you want to keep. Trade guidance describes several cavity drying methods, and these are the ones we use most.
- Drill-and-inject: Drill small access holes above the baseboard, then angle airflow into the cavity so it reaches framing and insulation.
- Pressurized injection systems: Tubes or nozzles push dry air straight to trapped moisture. The Restoration Industry Association notes that injection drying delivers dry air directly to wet cavities and can reduce strip-out work.
- Targeted airmovers with adapters and lay-flat ducting: The least invasive option. Adapters raise airflow, and ducting focuses it where you need it.
- In-place drying: Best when seams are intact and the drywall shows no swelling, such as around cabinetry or finishes you want to preserve.
What equipment do you need to dry wall cavities?
Each tool has a different job, and the setup works only when they work together.
- Cavity injectors and pressurized dryers: Deliver controlled airflow into the cavity. Dedicated systems like the Dri-Eaz InterAir reach insulation and framing that surface airmovers cannot dry well.
- Airmovers: Better for open surfaces and for cavities when paired with adapters.
- Dehumidifiers: LGR (low grain refrigerant) units pull moisture out of the air so it does not settle back into the wall. Size them to the volume of the space being dried, not just the wet wall.
- Lay-flat ducting and adapters: Route air to access holes without damaging finishes.
- Inline HEPA filtration: Industry guidance calls for air filtration devices when air moves through interstitial spaces.
Pro Tip: Seal each adapter connection before turning anything on. A leaky connection wastes airflow and pushes damp air into the room instead of the cavity.
How do you dry a wall cavity step by step?
Here is a step-by-step sequence, and a capable homeowner can follow it for a minor, clean-water loss.
- Shut off power to the affected circuits, put on PPE, and contain the work area.
- Drill access holes above the baseboard and below the top plate. These spots keep repairs simple and still reach the cavity.
- Insert tubing or nozzles and set inlet and exhaust points so air moves through the cavity instead of around it.
- Connect the exhaust to a dehumidifier or a HEPA-filtered negative-pressure setup where needed.
- Start with strong airflow. Add gentle heat only if you can control it, and set dehumidifiers to capture the vapor coming off the framing.
- Check readings every day and record them.
- Once the wall reaches dry standards, patch the holes and reinstall the baseboard. Fire-rated walls need a fire-rated repair.
The clock matters: EPA guidance says water-damaged materials should be dried within 24–48 hours to limit mold growth, and anything wet longer may need remediation.
How do you monitor and document drying progress?
Treat moisture mapping as a live process. Restore Advisor says the drying boundary should be updated daily, because surface-only readings miss saturated framing or insulation inside the wall.
- Take readings from exposed edges or small inspection holes, not only the paint surface.
- Mark the drying boundary on the wall and move it as the wet area shrinks.
- Record every reading with the date so you can show the trend toward dry.
- Use that trend to justify pulling equipment and to support an insurance claim.
If readings stall, the cause is usually airflow that is not reaching the wet spot or a dehumidifier that is undersized. Fix the setup before adding more equipment.
When should you remove drywall or insulation instead of drying in place?
Removal beats drying when the assembly cannot be dried reliably. The EPA says drywall can stay in place only if it has no obvious swelling and the seams are intact, and that cavities should be ventilated when it does.
- Visible swelling or compromised seams.
- Materials wet longer than 48 hours.
- Contaminated water.
- Saturated cellulose or fiberglass insulation, which is hard to dry in place and can support microbial growth.
Removal costs you downtime and a texture match later. Leaving contaminated material costs you hidden damage. When we remove, we document conditions, dispose of saturated insulation properly, and inspect the framing before any rebuild.
How do you contain and filter air when drying cavities?
Moving air through a wall can carry contaminants into the room. Use negative pressure or localized exhaust with inline HEPA filtration so fans do not redistribute what is inside the wall.
- Wear a respirator, gloves, and eye protection. The EPA notes that respirators require fit-testing and medical clearance when remediation disturbs mold or contaminated materials.
- Seal off the work area from occupied rooms.
- Keep exhaust paths short and filtered.
Pro Tip: Push air into one section of the wall and pull it out of another through a filter. That keeps moisture and contaminants moving away from the people living in the house.
What I tell homeowners about sequence and risk

I’m a Florida licensed mold assessor and mold remediator, and I’m InterNACHI certified. Before I started this company I spent years as a Florida home inspector. What I’ve learned is that drying is rarely the hard part. The hard part is the order of events. Nothing should come out of your walls until you know who is paying for it, what the cash price is, and what happens if insurance pays nothing.
Most cavity drying jobs go wrong when someone tears first and asks questions later. If contamination, swelling, or an insurance claim is involved, call a licensed pro before you open anything. You can also reach our team through our homepage.
— John Foutz
Ready 2 Inspect services for water damage and full restoration

We handle water damage restoration, mold remediation, reconstruction, and free mold inspections. A licensed company dries the wall, rebuilds it, and manages the insurance claim, with the owner on site instead of a handoff between subcontractors. Schedule a free mold inspection through our water damage restoration page.
FAQ
How do you dry out a wall cavity?
Drill small access holes, then push dry air through the cavity with an injection system or an airmover with ducting. Pair it with a dehumidifier and check moisture readings daily until the wall reaches dry standards.
How do you dry out cavity wall insulation?
Saturated cellulose or fiberglass insulation is usually removed because it is difficult to dry in place and can support microbial growth, per EPA guidance. Lightly damp insulation may dry with focused airflow if you catch it early.
How can you dry damp walls quickly?
Start within 24–48 hours, the EPA’s recommended window. Combine directed airflow into the cavity with a dehumidifier, and measure from exposed edges, not just the wall surface.
When should you call a professional for wall cavity drying?
Call a pro if the water is contaminated, the drywall is swollen, seams have opened, or insulation is saturated. A licensed team can also document the drying for an insurance claim.
Sources
- Mold Remediation in Schools and Commercial Buildings Guide: Chapter 4 | US EPA
- Restoreadvisor
- Wall & Cavity Drying: Reaching Full Drying Potential
- Techniques for Effective Wall Cavity Drying